Getting Started with iOS Development
Apple requires the use of Xcode running on macOS to develop for iOS. The labs further require iOS 16 or higher to run. This means your iPhone must be at least iPhone 8. Depending on the version of iOS you have running on your iPhone, you will need a certain minimum version of Xcode (Xcode 14 for iOS 16), which would require a certain minimum version of macOS, which would mean your Mac cannot be too old (2015).
The iOS simulator is powerful but, unfortunately, it doesn’t simulate the camera nor magnetometer and I’m not able to get simulated biometric to work on the simulator. Without physical access to a device, you can’t take photo/video, read the magnetometer, or perform biometric check (despite the simulator’s Touch/Face ID feature), which our labs have you do. So aside from requiring Xcode running on a mac, we also require that you have access to a physical iPhone to complete the iOS labs.
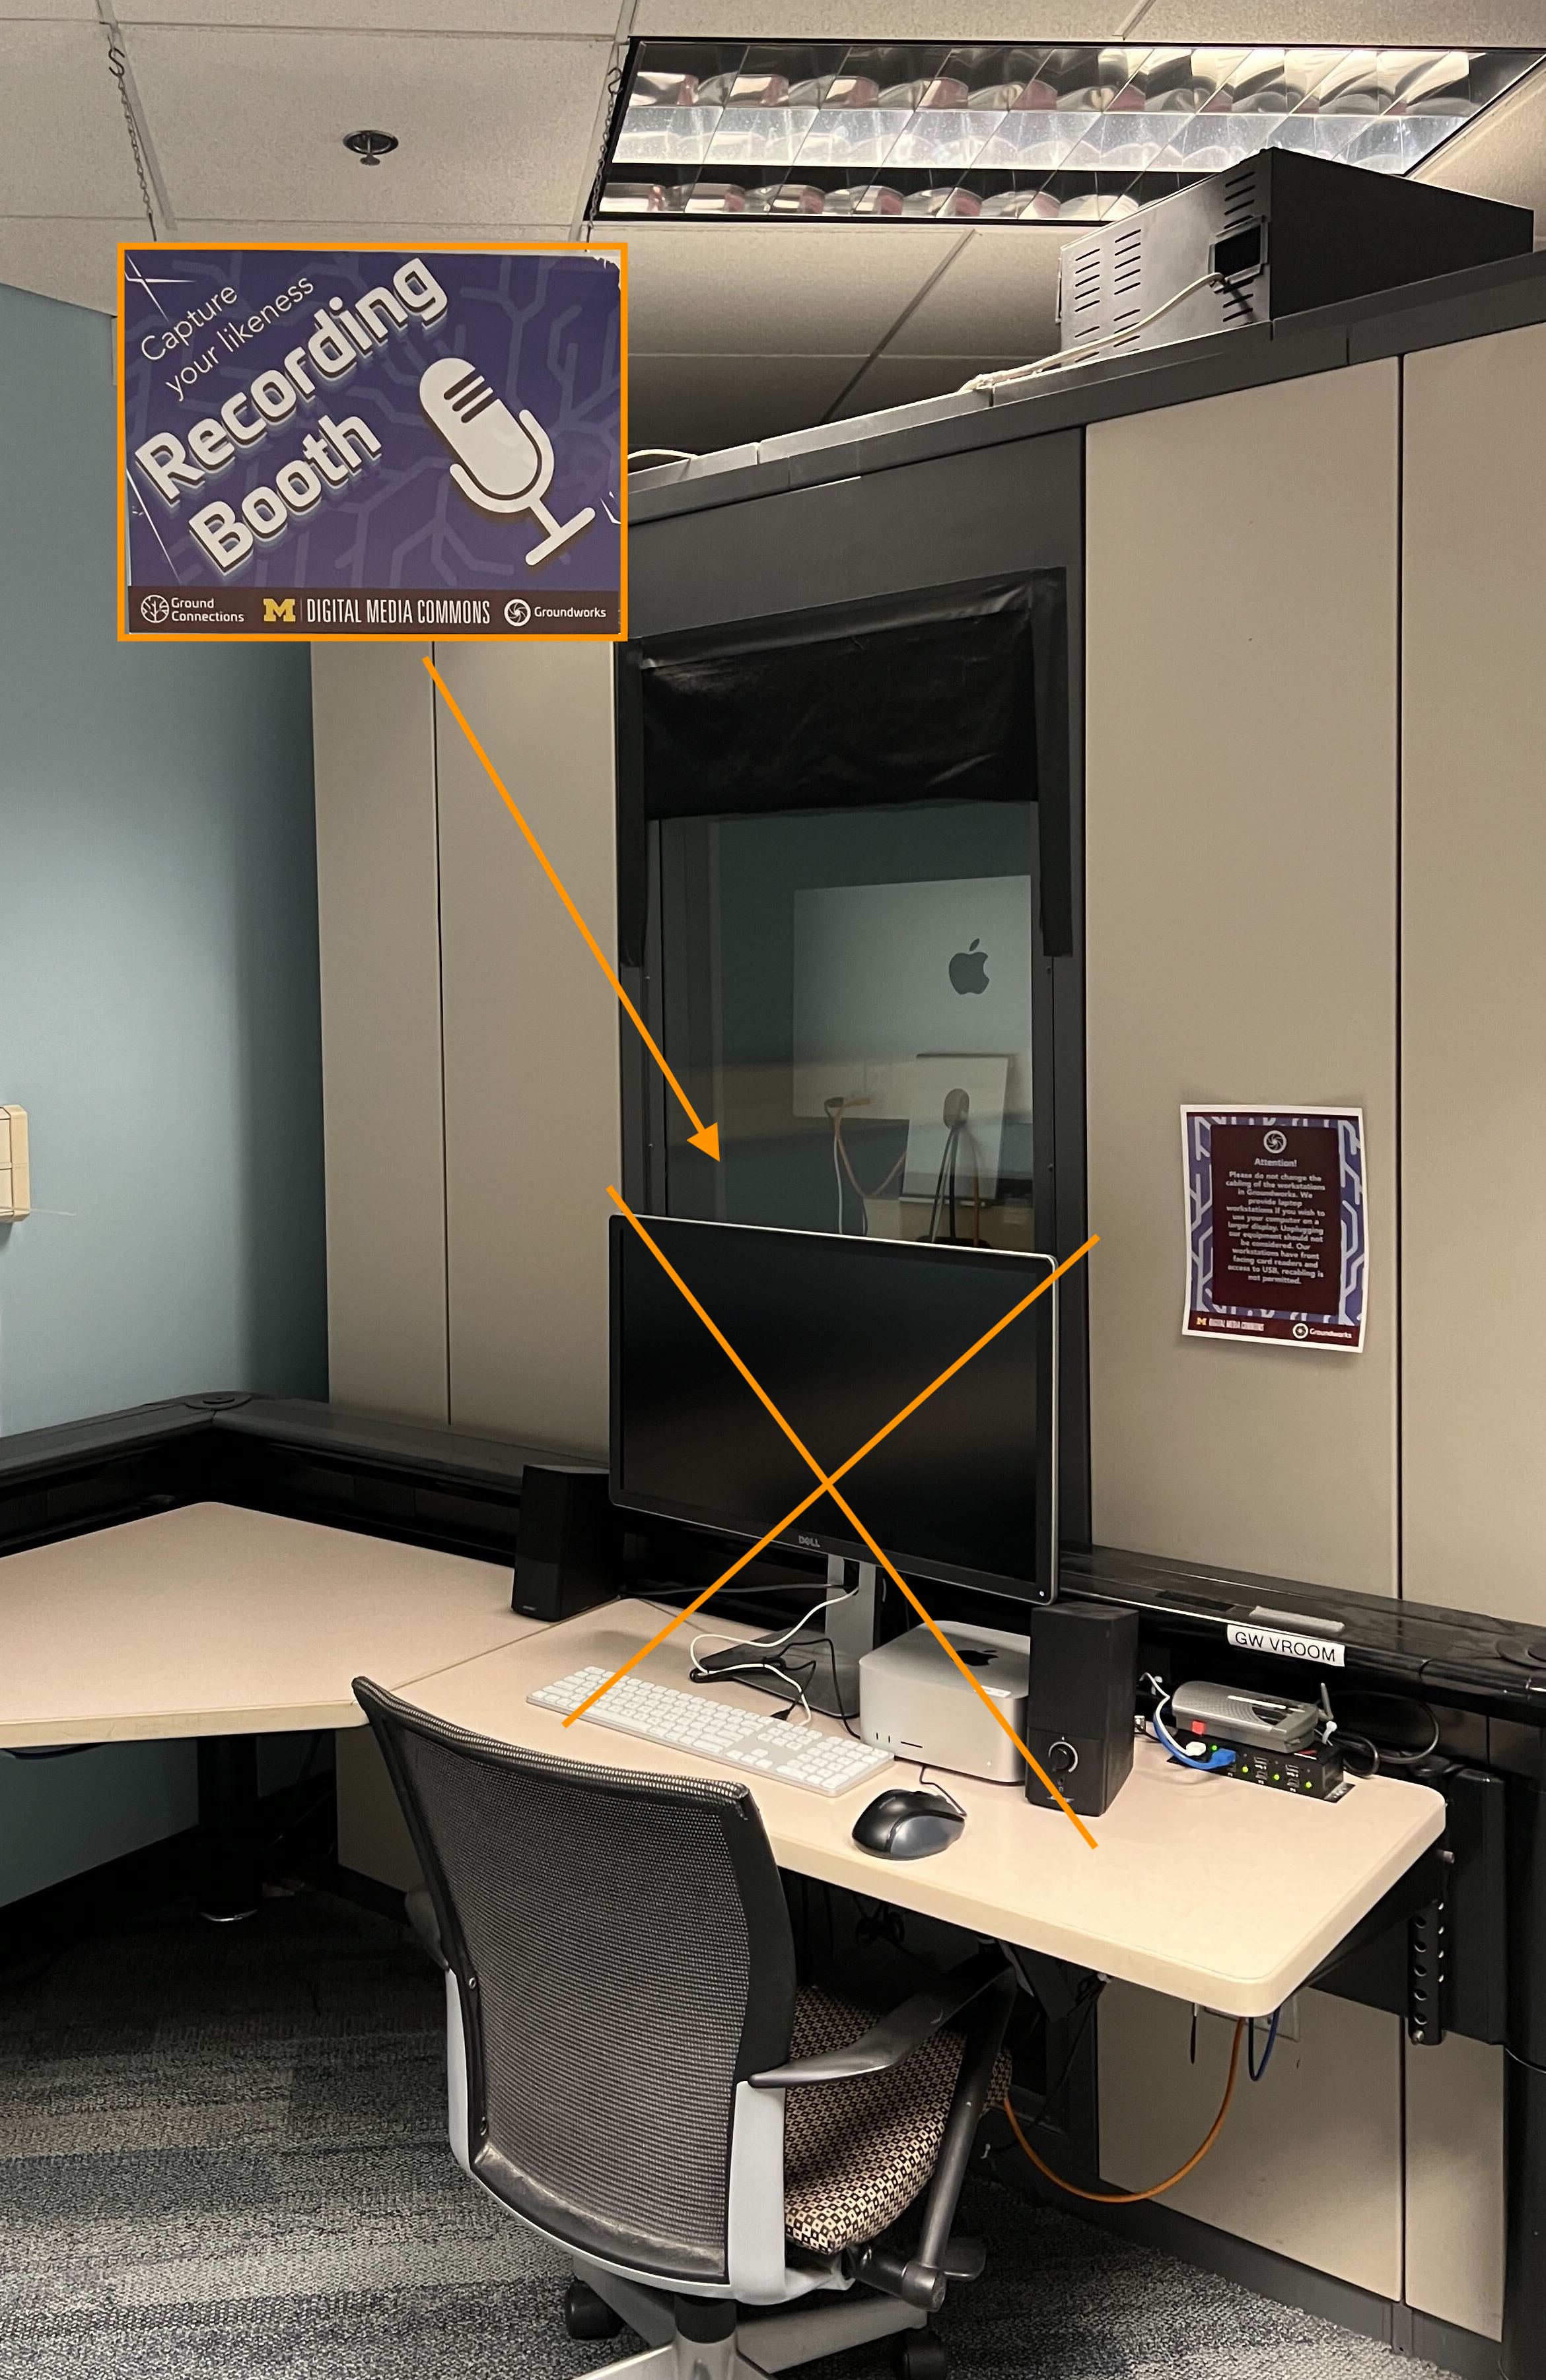
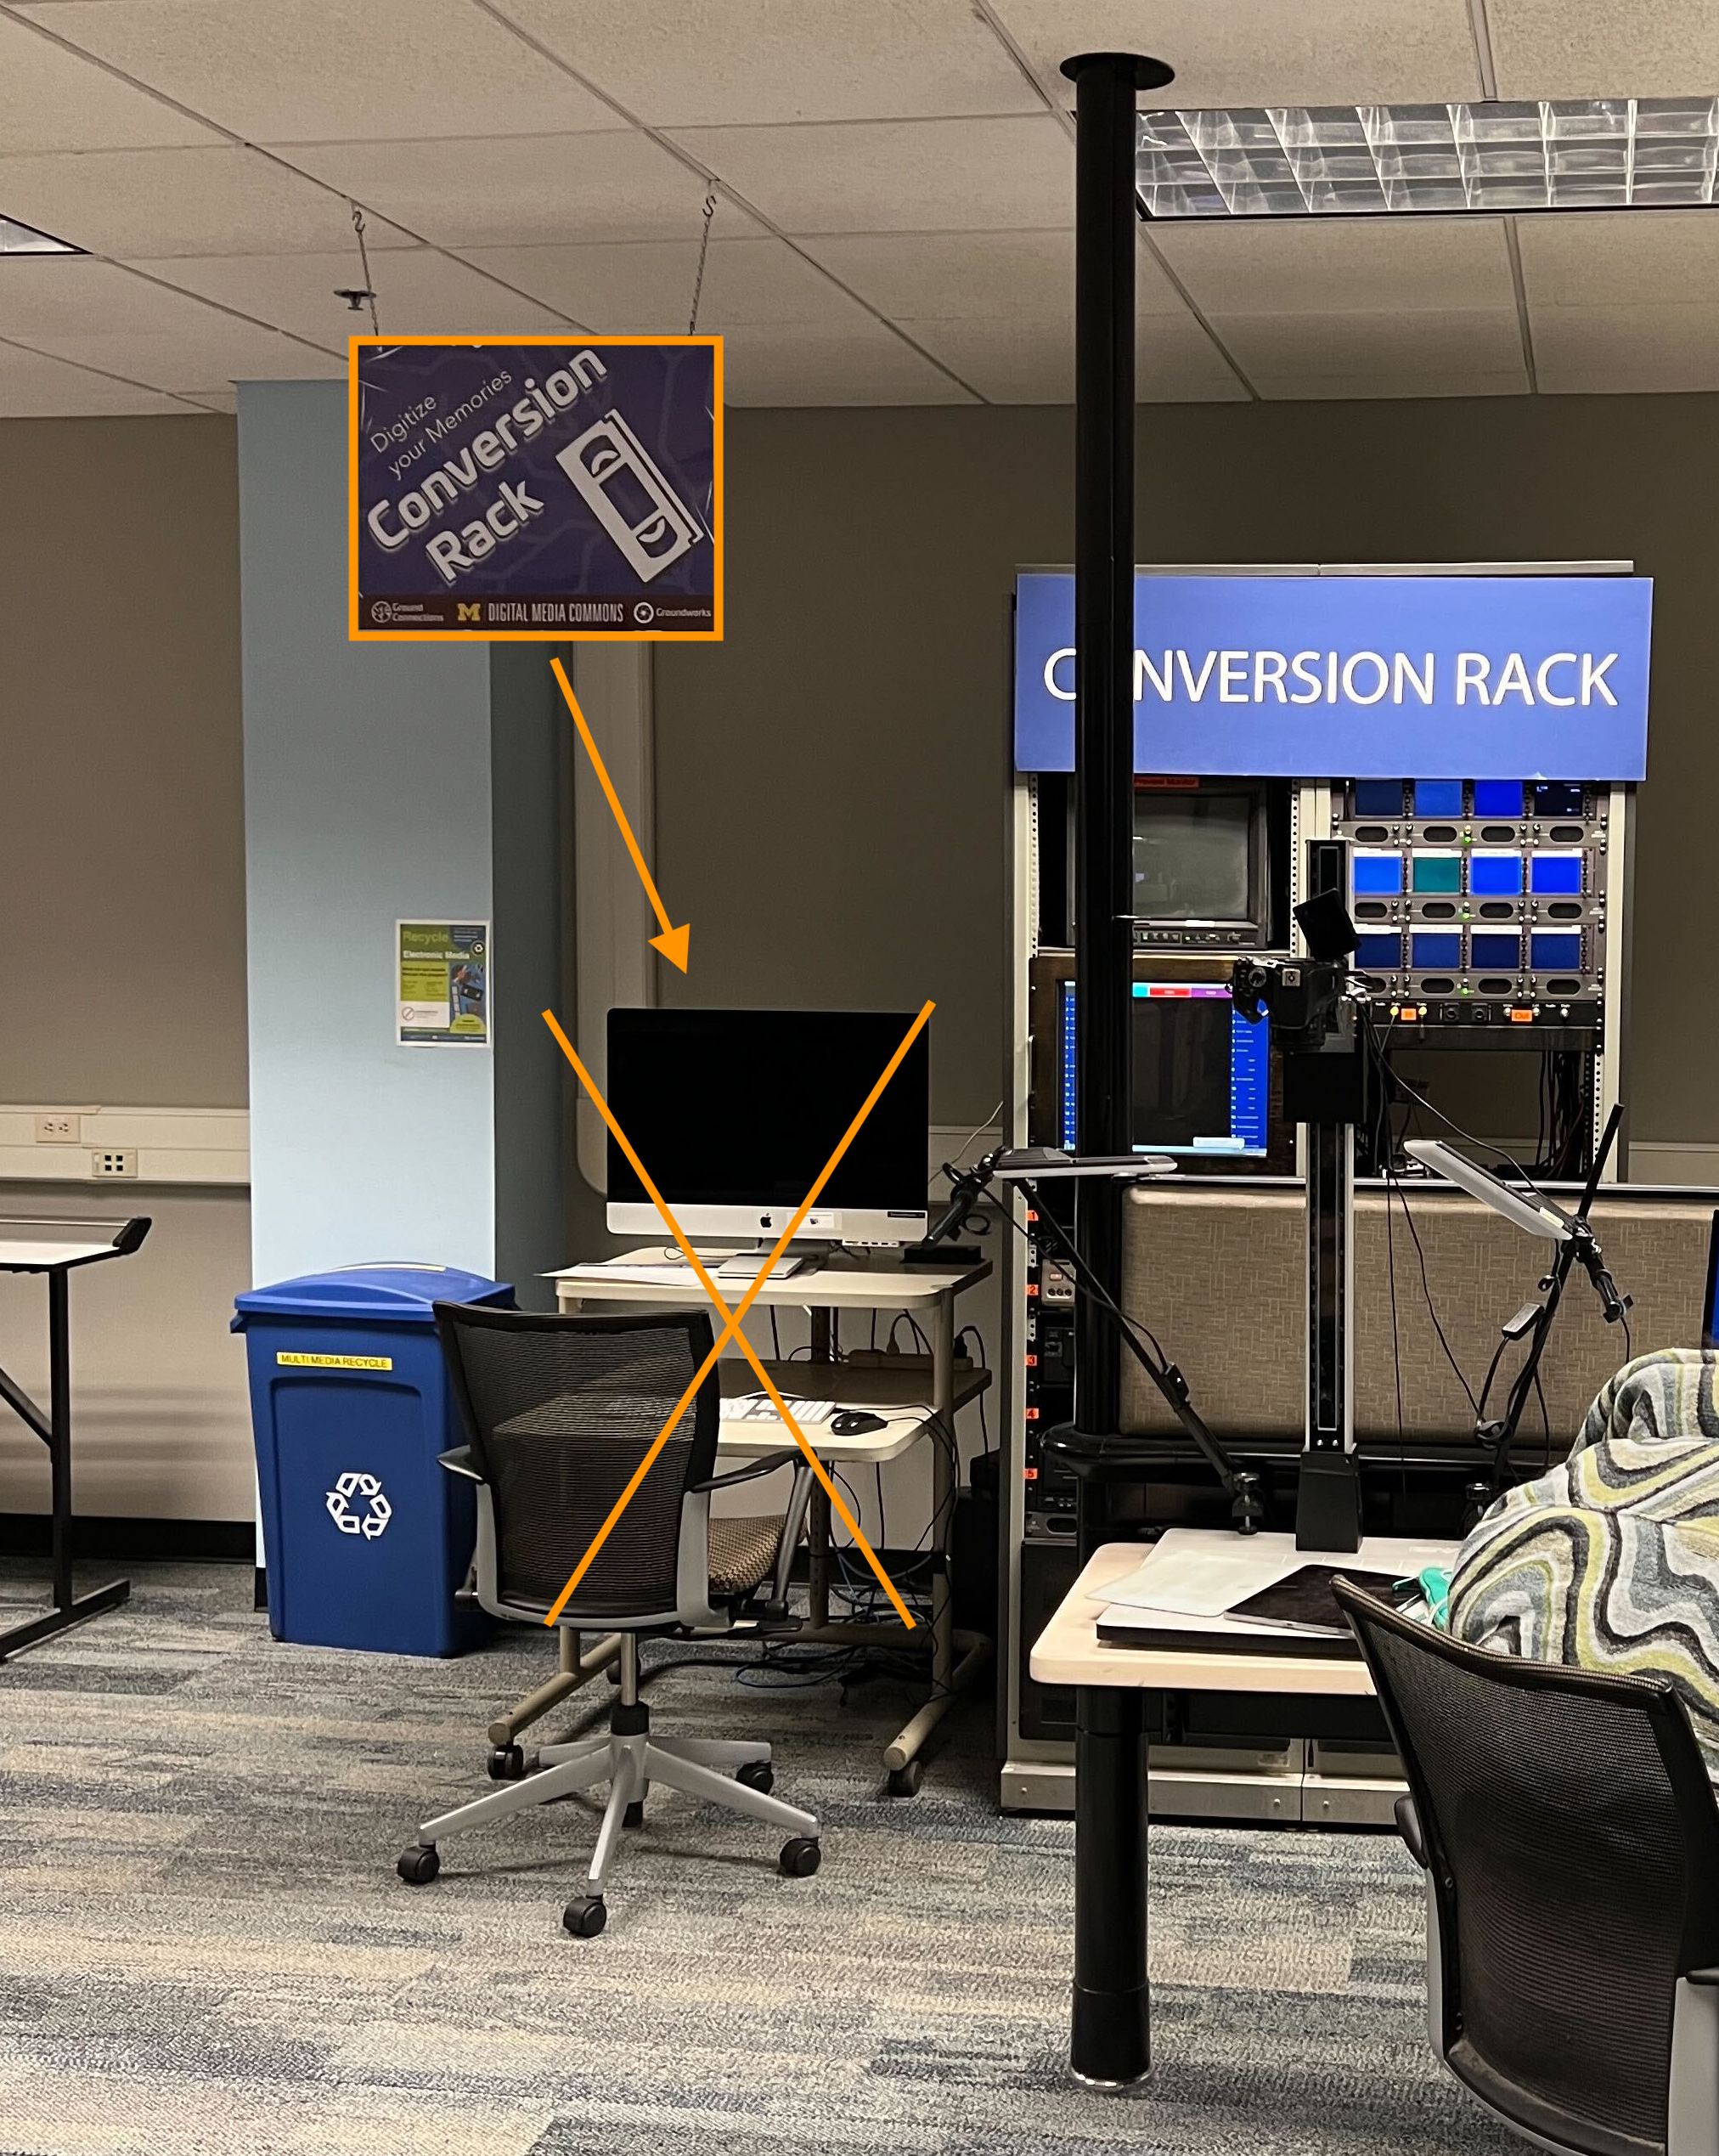
If you have an iPhone but no Mac, you can use the iMacs in the ITS Campus Computing sites and the Groundworks at MediaLabs to develop your labs. These are M1 Macs running the latest macOS and Xcode. We have tested all the labs on these iMacs.
In the Groundworks lab, the Macs under the signs
Recording BoothandConversion Rackdo not have Xcode installed and cannot be used to complete the labs.If you are exploring other options to develop for iOS without a Mac, please review, Have iPhone but no Mac?.
Languages
We will use only Swift to develop iOS apps, not Objective-C. The course does not support cross-platform frameworks, including React Native and Flutter. All course projects must be built natively. If you are contemplating cross-platform mobile development, please consult our collection of articles on industry experiences with cross-platform solutions.
Developing iOS app
We assume:
- you have a device running iOS 16 or later.
check version
To check your iOS version, on your phone navigate to
Settings > General > About > Software Version. - you will develop only in Swift, not Objective-C.
- you are running Xcode 14 or later.
- your entire team should be on the same version of Xcode, macOS, and iOS.
alternative IDEs
You can use a different IDE (such as VSCode or AppCode) or do your development on a different platform, but in the end you’ll still need Xcode running on macOS to build an iOS app. If you want to explore use of other IDE (not recommended), see references below.
Setting up Xcode
Installing Xcode:
- Open the App Store app on your Mac
- Search for and install Xcode
- Open and install all other components it asks for
If you’re running a beta version of iOS, the version of Xcode on the App Store may not support your iOS yet. In which case, you’d have to download a beta release of the next version of Xcode.
Xcode may be buggy: if it does unexpected things, restart and see if malbehavior persists.
-
You may want to install Android Tool (yes, despite its name, it also works with iOS devices) for conveniently capturing device screenshots and screen recordings from your Mac.
-
Xcode caches a lot of data to support different versions of the OS and to improve development speed. It also keeps logs and documentations. But it doesn’t clean up this data automatically. Over time, it will use up multiple GBs of your hard drive space. DevCleaner comes in handy in cleaning up unused Xcode data.
Xcode panes
- Left or Navigator: project and file explorer, warnings/errors, etc.
- Middle/main or Editor: editor and storyboard
- Right or Inspectors: various inspectors
- Bottom or Debug Area: console and debug output
You can open any side panels by selecting them under Xcode’s View menu item.
You will notice single characters, such as ‘A’, ‘M’, ‘R’ showing up next to your source files. These indicate the file version control status, also used with git.
Documentation
The best way to find documentation on iOS API is in Xcode:
- Hold down the
optionkey, - mouse over your code and, if information is available, your cursor will turn into a question mark,
- click on the highlighted code.
Or:
- Open the right panel,
- select the question mark icon,
- click on an object to see its documentation in the right panel.
Or:
-
Help > Developer Documentation (⇧⌘0).
See also Apple’s Xcode documentation for a thorough reference. (The older Xcode Help still contains some useful info.)
Product Name
When you create a new project, Xcode will prompt you for a Product Name. Do not re-use the name of a SDK or library, such as Foundation, UIKIt, Combine, or any other third-party SDKs/libraries you’re using. Otherwise, Xcode will complain of Cyclic dependency between modules ....
Running and debugging
On device
On your device, go to Settings > Privacy & Security > Developer Mode and turn on Developer Mode. Then
connect your device with a USB cable to your Mac for debugging. Select your device on the top left of Xcode. Click the play icon to build and run.
If you allow WiFi connection to your physical device, it will be recognized faster when plugged in (downloading code via WiFi itself seems to be very slow). Click on device name > Add Additional Simulators. Click on the Devices button on top, and check Connect via network. Once you connect your device to Xcode, Xcode can reload and launch your app on device through WiFi even if WiFi is turned off on your laptop!.
The first time you run your app on device, you may see Xcode error message saying, Could not launch "YOUR_APP" due to “invalid code signature, inadequate entitlements or its profile has not been explicitly trusted by the user.”
- Click
OK - On your device, navigate to
Settings > General > VPN & Device Management > Apple Development: YOUR_APPLE_ID > Trust "Apple Development: YOUR_APPLE_ID"and tapTrust - Run your app from Xcode again
If you get a popup on the iPhone with Untrustred Enterprise Developer when installing the app (this could be an issue specific to Verizon-sourced phones) [thanks A. McCarthy F22 for finding the solution]:
- Click
Cancel - On your device, navigate to
Settings > General > VPN & Device Management > Enterprise App > YOUR_ENTERPRISE > Trust "YOUR_ENTERPRISE"and tapTrust.
Should Xcode complain of, “Xcode was unable to read the required data from the device” or other unexpected error messages about connecting to the device, try ([stackoverflow]):
- Delete
~/Library/Developer/Xcode/iOS DeviceSupport, the whole folder - Disconnect your device from your laptop and restart it
- Quit and restart Xcode
- Plug your device back in
If you get a Command CodeSign failed with a nonzero exit code, try to “restart your mac. It will prompt you for your password for the login keychain signature when you build the project” [thanks A. McCarthy F22 for finding the stackoverflow article].
On a simulator
- Select the iPhone type on the top left of Xcode (iPhone SE 2020 is good)
may need to download simulators separately to use them (you can also delete unnecessary simulators)
- Click play to build and run
- Simulator will boot iOS and load the app
- Click to interact or use Hardware menu for physical buttons
- Disable
Hardware > Keyboard > Connect Hardware Keyboardto display the on-screen keyboard - Click the stop button on Xcode to close the app (not the simulator)
Running the labs on the iOS simulator
Chatter
There is no special set up necessary to run the basic Chatter lab (lab0).
Images
The iOS simulator supports picking photos and videos from the simulator’s album, but it does not support camera access. There is an iCimulator project that presents a mock video scene and photo on the iOS simulator much like how it is done on the Android emulator. While either the mock photo or the mock video can indeed be presented (but not both in the same build), the video record and take photo functions are not simulated. iCimulator is supposed to work with the Mac’s camera, but that is also no longer working. The Python streaming server to feed the camera exited due to an empty image_array.
iCimulator further breaks the native photo/video picking function of the simulator.
Maps
You can simulate your location either within Xcode, by clicking on the arrow button in the debug console menu (screenshot), or on the simulator. To simulate your location on the simulator, select on its main menu, Features > Location > Custom Location and enter the latitude and longitude of the location you want to simulate. If you choose Features > Location > City Run, your simulated location should be set to “Cupertino” and your simulated speed should be “walking” speed. If you choose the option Location > Freeway Drive and wait a couple of minutes between chatt postings, you should see your location changed to a different city at “driving” speed. Unfortunately, there doesn’t seem to be a way to change the reported facing of the phone; the simulator doesn’t simulate the magnetometer.
Audio
There is again no special set up necessary to run the Audio lab. If you have multiple mics and speakers connected to your development host, on the simulator you can choose the input and output to use by selecting I/O > Audio Input and I/O > Audio Output respectively. You can also control the output volume under the I/O menu or with keyboard shortcuts.
Signin
The iOS simulator has Touch ID (or Face ID, depending on iPhone model) simulation. Under the main menu, select Features > Touch/Face ID > Enrolled to enroll and then choose Features > Touch/Face ID > Matching Touch/Face or Non-matching Touch/Face to simulate matching or non-matching biometric ID. Unfortunately none of these selections seem to work. None causes the biometric panel to pop up in the Signin lab and the app operates without prompting for any biometric checks.
Publishing an iOS app
TestFlight can be used for beta testing (even A/B test).
To publish your app:
- OBEY the numerous content restrictions on App Store Review Guidelines.
- Read also, This is Why Apple Would Reject Your App.
- Follow Apple’s instructions on Submit your iOS app to the App Store and the App Store Connect Help.
Reviews usually take a few days but could take a few weeks.
References
-
Xcode documentation
- and the older Xcode Help
Swift on other IDEs and OSs: in all cases, you eventually still need Xcode running on macOS to build iOS apps.
- AppCode
- iOS Development on VSCode (macOS) As far as I can tell, only this article shows you how to set up iOS (UIKit) API completion. The rest only works with the Swift programming language, not iOS SDKs.
- Introducing Swift for Visual Studio Code
- Swift Development with Visual Studio Code (macOS)
- Swift plugin for VSC (macOS and Linux)
- Swift Development with Visual Studio Code - On Linux!
- Introducing Swift on Windows
- sourcekit-lsp Editor Integration (other than VSC)
- Can I delete unnecessary device simulators of Xcode?
- Xcode Simulator: how to remove older unneeded devices?
- Using Touch ID on simulator doesn’t work.
- iCimulator simulates camera functions on iOS simulator with images, videos, or the MacBook camera. No longer works.
- Differences between simulated and physical devices dated, audio input is now supported on the simulator.
- Why Android created emulator rather than simulator?
- Simulator or Emulator? What is the difference?
Publishing an iOS app
| Prepared for EECS 441 by Sugih Jamin | Last updated: April 1st, 2023 |